To-die-for mock breadsticks made with cauliflower that are low in calories, carbs and fat. No fail results as I take the guess work out of the recipe with step-by-step photo instructions.
Phenomenal low carb alternative to traditional cheesy breadsticks. These cauliflower breadsticks are full of flavour, cheesy and easy. Yes, this recipe is foolproof! Just like my so popularCauliflower Pizza Crust recipe (the amount of re-pins is insane => thank you!). The breadsticks recipe is even easier and lighter, as I ditched the cheesecloth and made a few tricks with the ingredients.
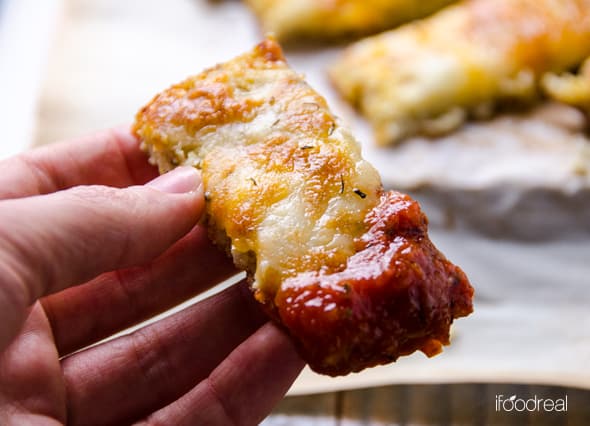
And you can pick them up by hand. I know you you are wondering about that. The answer is YES!
I made 2 batches of cauliflower breadsticks in a row, just to make sure it works. If you have attempted a cauliflower pizza or breadsticks recipe before without any luck, this recipe will change the situation. There must have been a reason why it didn’t work. That’s why I spent 2 days developing, testing, photographing and writing this post. To show you how easy it is to make these delicious “breadsticks”.
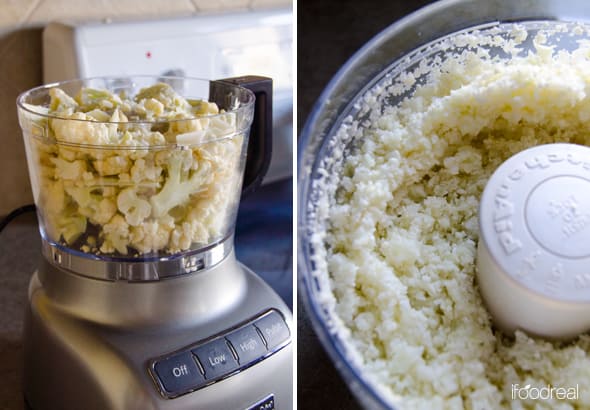
So, let’s begin. You start with a large head of cauliflower, 7″ – 8″ wide. If you are serving 2 or more people, I recommend do double the recipe. These breadsticks are so good and guilt free, they disappear fast. Chop the cauliflower and process in a food processor until “rice” texture. Do not make a cauliflower mash. Alternatively, if you do not own a food processor, you could chop it really fine or even grate using simple boxed grater.
Place cauliflower in any oven proof baking dish and bake for 20 minutes at 375 degrees F. I usedPyrex glass pie dish. Alternatively, you could microwave or steam it. The idea is to cook the cauliflower, so it releases the moisture and we squeeze it out.

Line a bowl with a linen kitchen/tea towel. I used cheap tea towels from a Dollar store, similar tothese ones. They are called something like glass tea towels and are kind of linen mesh. Much better than cheesecloth as they do not rip and are widely available. You probably have some on hand. You can also wash and reuse them. Bingo!
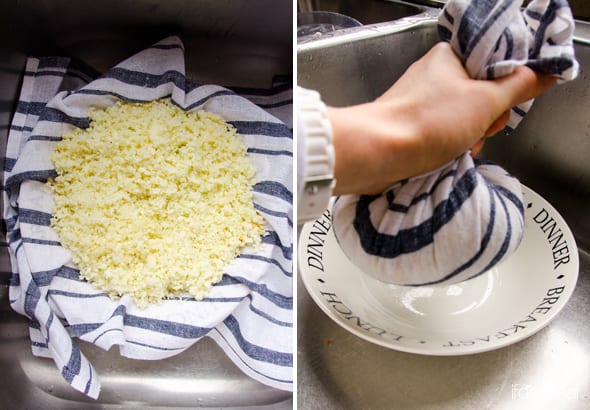
Then you grab the towel by the corners, holding with one hand just below the corners, and start squeezing the liquid out with another hand. The process will take about 3 – 5 minutes and you should squeeze about 1 cup of liquid. Use a measuring cup as a point of reference. If the liquid is hot, let the cauliflower mash cool down a bit and proceed again.
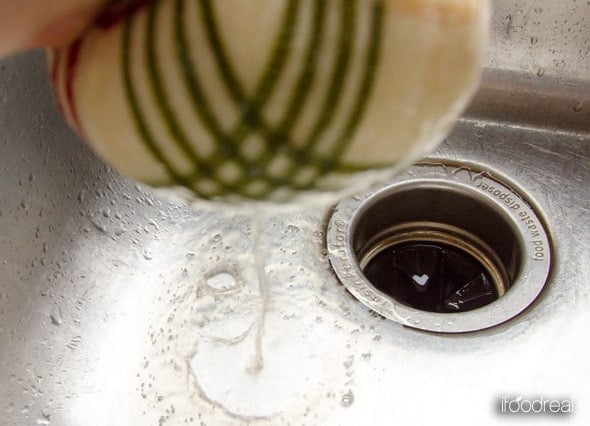
Just showing you that the kitchen towel works.
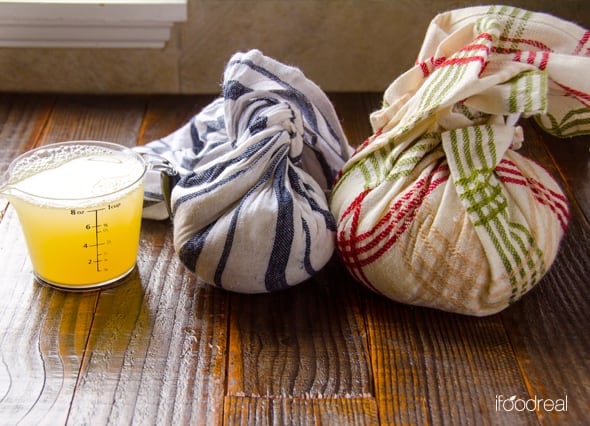
Here you can see, from right to left: cauliflower “ball” before squeezing, after squeezing and liquid squeezed out.
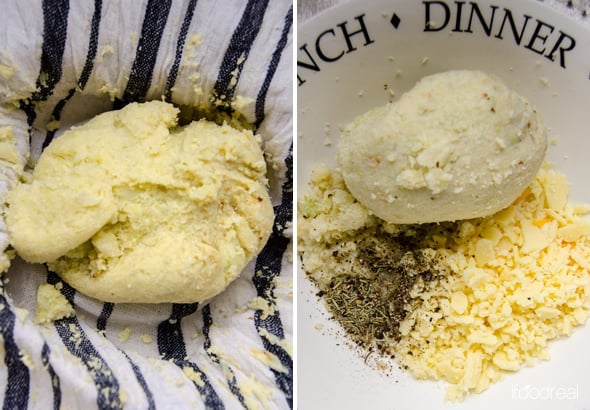
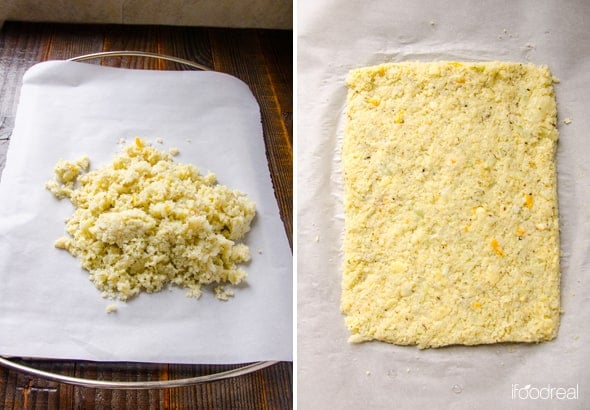
Open the towel and voila: you got yourself some pretty dry cauliflower. Add seasonings to it as per the recipe. I used egg whites instead of an egg and it worked! Any cheese works. Full or low fat, Mozzarella or Tex Mex or even Parmesan. Use grated or shredded cheese and when measuring do not pack.
After you make the “dough”, transfer it onto any baking sheet lined with parchment paper. The “dough” won’t be sticky and that’s OK. Egg whites and cheese will act as a binder during the baking process.
No need to spray the parchment paper with cooking spray either. The breadsticks won’t stick. More than that, the parchment paper underneath the breadsticks will be moist after baking. And that’s OK too. It doesn’t mean the breadsticks will fall apart. No. The moisture releases during the baking process therefore no need for cooking spray. I was asked before if pizza stone would work and I don’t know as I don’t own one. No idea how to use it.
Form a rectangle, using your hands, approximately 9″ x 7″ in size and 1/4″ thick. Press the “dough” a bit to make it stay together and use spatula to make the edges straight. Do not worry, the egg whites and cheese will bind everything together during the baking process. It won’t fall apart.
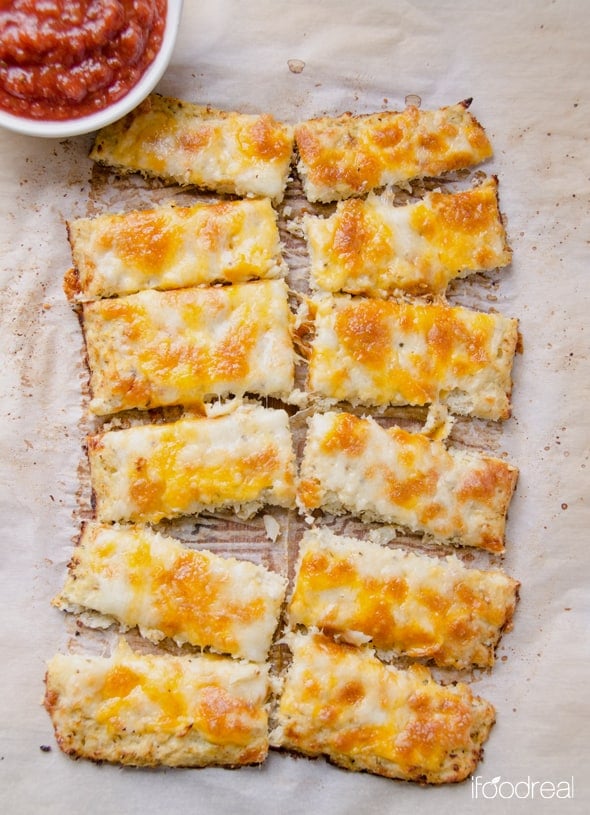
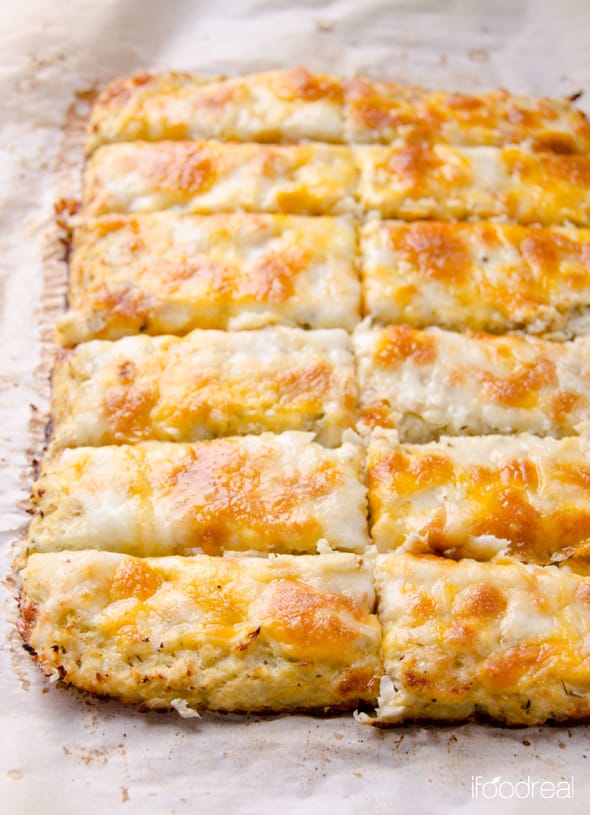
And bake. All ovens vary. I own simple electric oven and it took the breadsticks 18 minutes. Just watch it => when you see the “dough” becoming golden brown on top, it’s time to take it out. Then you top the breadsticks with cheese and bake for another 5 minutes until the cheese melts and broil for nice golden brown crust.

Remove the breadsticks from the oven and transfer to a cutting board, holding by the ends of parchment paper. Let the breadsticks cool down for 5 minutes before cutting, if you can. I waited with the first batch and the breadsticks were easy to cut. With the second one I didn’t and it was a bit of a mess. Use serrated/bread knife to cut into 12 breadsticks.
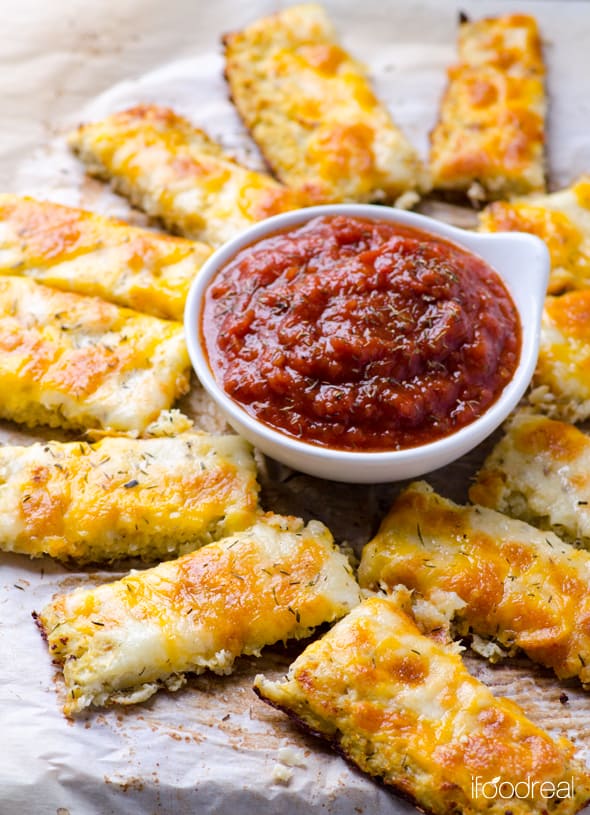
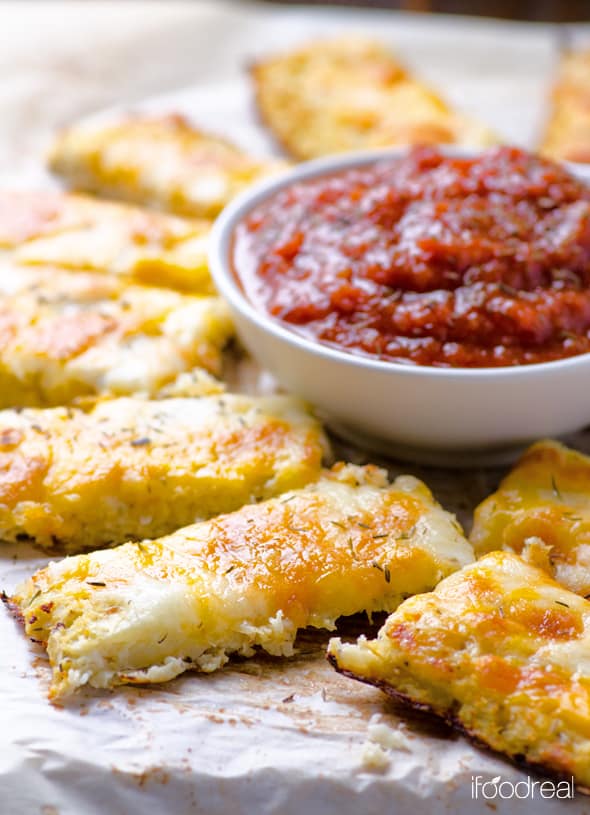
How you serve these guys is totally up to you. I’m just going to give you a few ideas. Serve with warm marinara sauce. Any clean/healthy/organic store bought marinara sauce like Dave’s Gourmet works. Or you can make your own and that’s what I did. My mom makes this homemade Ukrainian kind of salsa. So I combined it with some tomato paste, dried thyme and oregano. Just use what you have. No need to spend money.

Another idea is to make these cauliflower breadsticks even lighter in fat by skipping the cheese topping. And that’s what I did with my second batch. Below I have included 2 nutritional infos:
1. Breadsticks without the cheese topping
2. Full on with cheese.
Pick yourself.
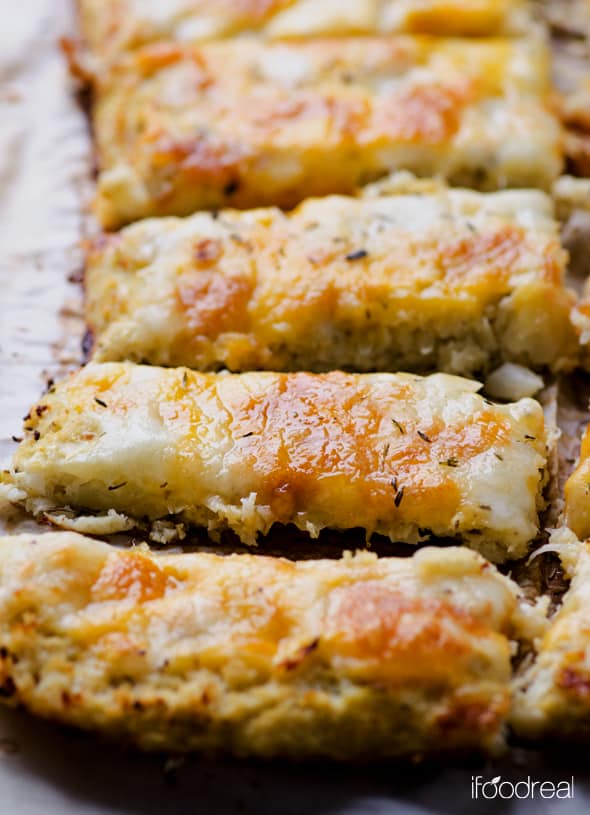
These cauliflower breadsticks turned out delicious!!! Full of flavour and cheesy. They hit the spot and satisfy the craving without wrecking your daily macros/nutrition. That’s if you care about that. I do as I want to see my abs this summer. I’m obsessed! You can have 5 – 6 of these and still have consumed very little calories, fat and carbs. Perfect healthy alternative for binge eating weekend get-togethers with friends.:) The only difference is you stay on track and bring your friends here to try your recipe.:) Enjoy!

Ingredients
- 1 head cauliflower, large (7" - 8" wide)
- 1/4 cup egg whites
- 1/2 cup + 3/4 cup (for topping) Mozzarella/Tex Mex cheese, shredded
- 1 tsp Italian herb seasoning or any dried herbs like rosemary, basil, parsley
- 1/4 tsp freshly ground black pepper
- Pinch of salt
- Marinara sauce for dipping
Directions
- Preheat oven to 375 degrees F. Rinse cauliflower, remove outer leaves and separate into florets with a paring knife. Place cauliflower florets in a food processor and process until "rice" texture. Some coarse chunks are fine.
- Place in an oven proof baking dish (I used Pyrex pie dish) and bake for 20 mins. Remove cooked cauliflower from the oven and transfer to a bowl lined with a tea/linen towel (I used glass tea towel from a Dollar store, similar to this one). Let the cauliflower cool down a bit until it is safe to touch, about 15 minutes.
- Fold the towel holding by the ends and squeeze the liquid out of the cauliflower "ball" as hard as you can. Be patient and do this a few times until barely any liquid comes out. I squeezed out 1 cup of liquid. Second photo, from right to left: before squeezing, after squeezing, liquid squeezed out.
- Increase oven T to 450 degrees F. Transfer cauliflower to a mixing bowl along with egg whites, 1/2 cup cheese, herb seasoning, black pepper, pinch of salt and mix to combine.
- Transfer cauliflower mixture onto the baking sheet lined with parchment paper. Flatten with your hands into a rectangle, approximately 9" x 7" size and 1/4" thick.
- Bake for 18 minutes, remove from the oven and top with remaining 3/4 cup cheese. Bake for another 5 minutes and then broil until cheese turns golden brown. Cut into 12 breadsticks and serve hot with warm marinara sauce, if desired. P.S. For a lighter version, do not top with cheese.
Storage Instructions: Refrigerate covered for up to 2 days. You can also freeze the breadsticks tightly wrapped in plastic, for up to 1 month. Thaw on a counter or in a microwave.
Nutritional Info (no cheese topping)
Servings Per Recipe: 12
Amount Per Serving = 1 breadstick:
Calories: 33.3
Total Fat: 0.9 g
Cholesterol: 2.5 mg
Sodium: 48.4 mg
Total Carbs: 3.8 g
Dietary Fiber: 1.8 g
Protein: 3.1 g
WW Points+: 1
Calories: 33.3
Total Fat: 0.9 g
Cholesterol: 2.5 mg
Sodium: 48.4 mg
Total Carbs: 3.8 g
Dietary Fiber: 1.8 g
Protein: 3.1 g
WW Points+: 1
Nutritional Info (with cheese)
Servings Per Recipe: 12
Amount Per Serving = 1 breadstick:
Calories: 53.0
Total Fat: 2.2 g
Cholesterol: 6.2 mg
Sodium: 107.6 mg
Total Carbs: 3.8 g
Dietary Fiber: 1.7 g
Protein: 4.9 g
WW Points+: 1
Calories: 53.0
Total Fat: 2.2 g
Cholesterol: 6.2 mg
Sodium: 107.6 mg
Total Carbs: 3.8 g
Dietary Fiber: 1.7 g
Protein: 4.9 g
WW Points+: 1


